This blog post, and its source code is under the CC0 1.0 licence.
Description
This tutorial is to create a simple Java-based web application with Tailwind support - no NodeJS install needed. We’ll be using my Gradle plugin gradle-tailwind to create the resulting CSS file.
Setting up a project
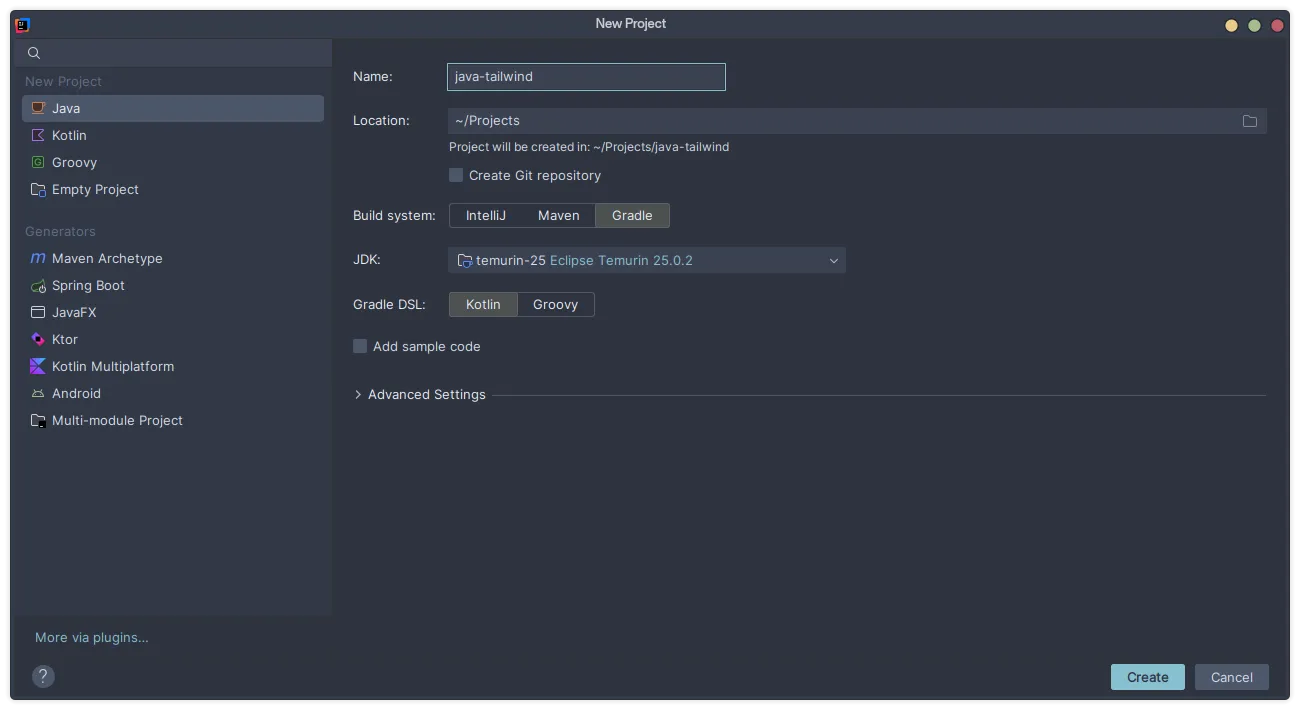
In this project, we’ll be using Gradle’s Kotlin DSL, we’ll set the Java version to Java 18 or later, the build system to “Gradle”, and use the Kotlin DSL for Gradle.
In this example, the name of the project will be java-tailwind. Once you’re done - click “Create”.
Now that we have the template set up, we can now import our required plugins and libraries for use in this project.
Gradle configuration
First, we would need to include the Tailwind plugin - the glue that makes this tutorial stick together.
Make sure to add this at the very top of the build.gradle.kts file, at the root of the project folder.
// build.gradle.kts

plugins {
    id("java")
    id("application") // Required to build JARs
    id("au.id.wale.tailwind") version "0.4.1"
}
Make sure that compiling the project requires Tailwind to be built:
// build.gradle.kts

tasks.compileJava {
    dependsOn(tasks.tailwindCompile)
}
And set our main class for the project:
// build.gradle.kts

tasks.jar {
    manifest {
        attributes["Main-Class"] = "example.Main"
    }
}
We then have to configure the Tailwind plugin to our needs. This snippet will go towards the end of the build.gradle.kts file.
// build.gradle.kts
tailwind {
    version = "4.3.0"
    input = "src/main/css/tailwind.css"
    output = "src/main/resources/web/main.css"
}
What this does is:
- It configures TailwindCSS to the latest version, (as of writing)
- It sets the input file (with our TailwindCSS-specific styling and configuration) to be in the
src/main/cssfolder.- This is important so that the Tailwind CSS file with all your plugins doesn’t get included in the final JAR.
- It sets the output to be included in
src/main/resources.- The
resourcesfolder is included in your JAR by default.
- The
Creating your static files
Let’s create our TailwindCSS styling file, with all of our theming options.
/* src/main/css/tailwind.css */
@import "tailwindcss";

/* Your theme */
@theme {
  --font-sans: InterVariable, sans-serif;
}
A summary:
- Imports all Tailwind’s base classes for use in any HTML file that imports the output stylesheet (in our case
src/main/resources/tailwind.css). - Sets the default font-family to Inter.
We can now create our HTML file with all of our classes, and our stylesheets.
<!-- src/main/resources/web/index.html -->
<!doctype html>
<html>
    <head>
        <link rel="stylesheet" href="./main.css" />
        <link rel="stylesheet" href="https://rsms.me/inter/inter.css" />
    </head>
    <body class="flex flex-col h-screen my-auto items-center justify-center">
        <h1 class="text-2xl font-bold">Hello World!</h1>
    </body>
</html>
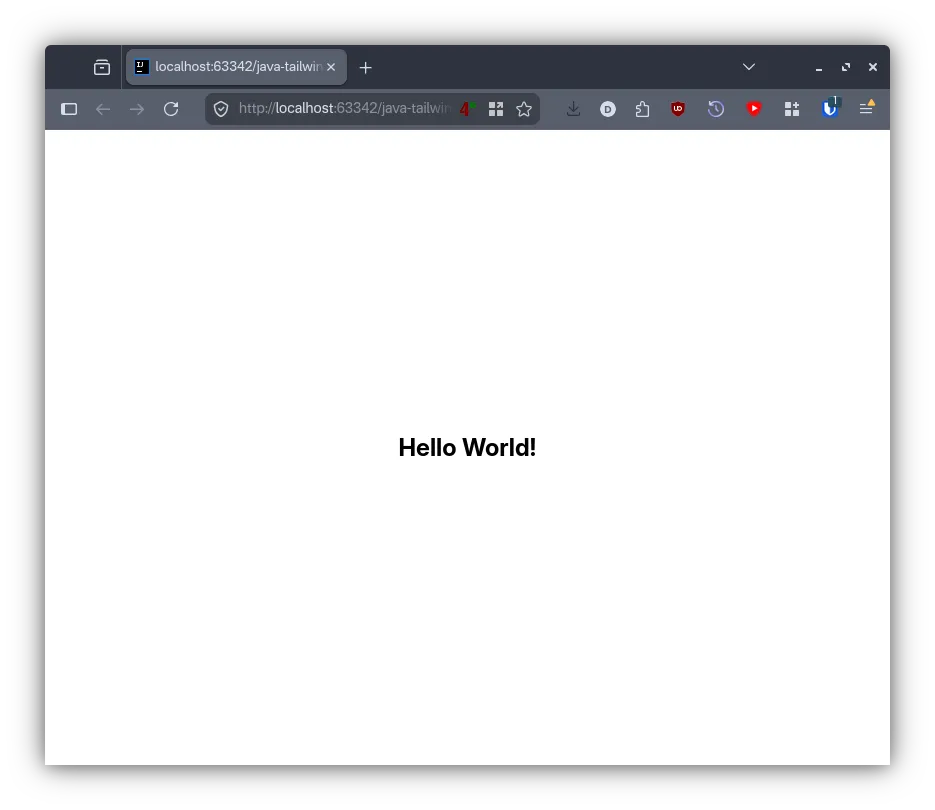
This HTML will display our text (“Hello World!”), centred on the screen - like so:
Our Web Server
We will now create a very simple Java webserver that serves our HTML file, which will then be compiled - along with our Tailwind configuration.
This webserver will be using the SimpleFileServer, which is bundled with Java versions from Java 18 onwards.
Create a new file under src/main/java/example/Main.java, with the following content.
// src/main/java/example/Main.java
package example;


import com.sun.net.httpserver.HttpServer;
import com.sun.net.httpserver.SimpleFileServer;

import java.io.IOException;
import java.net.InetSocketAddress;
import java.net.URISyntaxException;
import java.nio.file.Path;

public class Main {
    public static void main(String[] args) {
        try {
            // Create HTTP server
            var server = HttpServer.create(new InetSocketAddress(8000), 0);
            // Serve list of files in the resources folder
            var resource = Main.class.getClassLoader().getResource("web/").toURI();
            var handler = SimpleFileServer.createFileHandler(Path.of(resource));

            // Start HTTP server
            server.createContext("/", handler);
            server.start();

            System.out.println("Server started on localhost:8000!");
        } catch (IOException | URISyntaxException e) {
            throw new RuntimeException(e);
        }
    }
}
We can now run the application without building the jar file, like so:
$ ./gradlew runThis will start a server on localhost:8000, serving the index.html file we created earlier.
We can also our application, with a command as simple as:
$ ./gradlew jarThe output file will be located in the build/libs folder.
Some other examples from those who have done this in the past:
- Alexander Reelsen - Create a custom Tailwind CSS build with Gradle in your Java project (2023 edition) (and his original post from 2021)
- Thomas Schühly - Fixing the Spring Boot LiveReload Server with Gradle for Thymeleaf and TailwindCSS
And that’s it, we have a simple Java application built with Tailwind, all with a single Gradle plugin. Happy development!